
The number of guests is a very important number when organising an event. Did you know that you can add RSVP to an invitation with the help of Smaily? It means that the guests do not need to reply to your invitation and manually write whether they are coming to the event or not. They can do it already in the email by clicking on the correct button. And you, as the organizer, will see the responses in Smaily under contact segments and you do not need to manage Excel tables to manually update the list of guests.
It all happens automatically in Smaily. As a bonus you can easily send reminders to the guests.
Some examples of such invitations:
There are three steps to send invitations and automate the segmentation:
- Prepare the contact file and import the contacts
- Design the invitation template
- Set up the automation workflow
Below is a step by step guideline to create a successful invitation automation process.
Importing contacts
We can begin with preparing the contact file for import.
- Open your contacts in Excel or a similar program.
- Remove all unnecessary information and only keep email column and other info (e.g name or language), if needed for personalization.
- Add a new parameter to the database by adding an empty column next to your contact information. Use “invitation” as the heading of the column and add a value “yes” to all the contacts in that column. This is necessary for creating a segment with the contacts that the invitation is sent to.
- Next, add another parameter: add another column and use “participates” as the heading of the column. Don’t give any values to the contacts in that column.
- Save your file and import it to your Smaily account.
- Create a new filter in Smaily.
- Open the contacts view and click on “Create new filter”.
- Choose “invitation” as the basis for segmentation and change the rules to “equals” “yes”. This way you create a segment with all the contacts that the invitation is sent to.
Next you can create two more filters for those who participate in the event and for those who don’t.
- Create a new filter.
- Change the segmentation rules to “participates” “equals” “yes” and save the filter. This segment will remain empty for now, but will later be filled with participants – people who clicked “participate” in the invitation.
- Create another filter with segmentation rules “participates” “equals” “no” and save the filter. This will also remain empty.

Creating the invitation
You need to create the invitation template and two landing pages.
- Design your event invitation template in Smaily template editor. Add two buttons to the template – “I will participate” and “Can’t participate”.
- Also create two more templates or landing pages, which will be linked to either button. You will need one landing for those who will participate and another for those who can’t. Save those and open both previews. See example below.
- Open the invitation template again and link both landing pages to their corresponding buttons.
- Save the invitation template.
Example
Setting up the automation workflow
Event automation workflow will help segment the contacts to different filters, depending on attendance information.
Creating the automation:
- Open the invitation template preview.
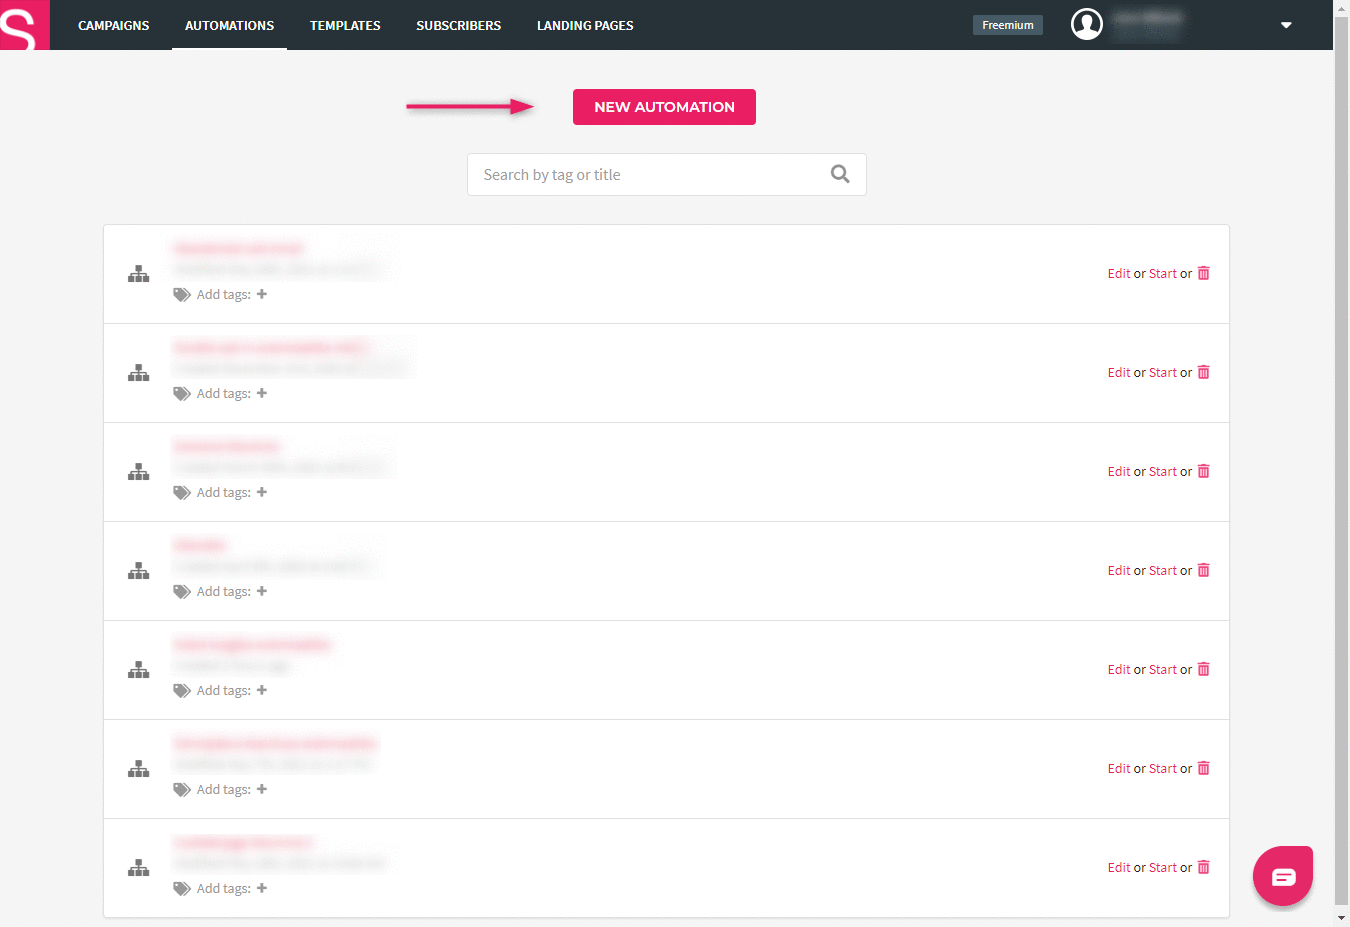
- Go to the automations tab and click on “New automation”.
- Then click on “Start from scratch”.
- Name your workflow and choose “Link click” as your workflow trigger.
- For the next action choose “URL” and add the “participate” landing’s url to the empty fields.
- You can get the url by clicking on the “I will participate” button and copy the link of that button’s landing.
- For the next action choose “Modify data”.
- Find the “participates” parameter from the first dropdown. This parameter was given to the contacts while importing previously.
- Add “yes” as a new value in the empty field.
- Create a new workflow branch, by clicking on the “+” icon on the right side of “filter by URL” element.
- Add a new “URL” filter element.
- Add the “Can’t participate” button’s landing url there.
- Add “Modify data” as the next action.
- Find the “participates” parameter from the first dropdown.
- Add “no” as a new value in the empty field.
- Save the workflow and start it.
Testing the invitation and the workflow
Before you send out the invitations to all your guests, please test the whole process.
- Go to the subscribers tab and click on “add subscribers” button.
- Add one subscriber and insert your email address in the email field. If you are using any personalization in the template fill out those fields as well. Save the contact.
- Create a new filter with only your email address.
- Go to the campaigns tab and create a new campaign.
- Fill out all the necessary steps and when choosing contacts, choose the filter with your email address.
- Send the invitation as a campaign to yourself.
- When you receive the invitation click on one of the participation buttons and after some time you should see your email in the corresponding filter.
- If everything worked fine, you are ready to send out the invitations.