Installing the plugin
To install Smaily plugin, go to “Plugins” ➝ “Add new” and then type in the search box “Smaily”. Choose Smaily for WordPress plugin and click on the button “Install now“. Once installation has finished, make sure you activate plugin from the Plugins list.

Configuring the plugin
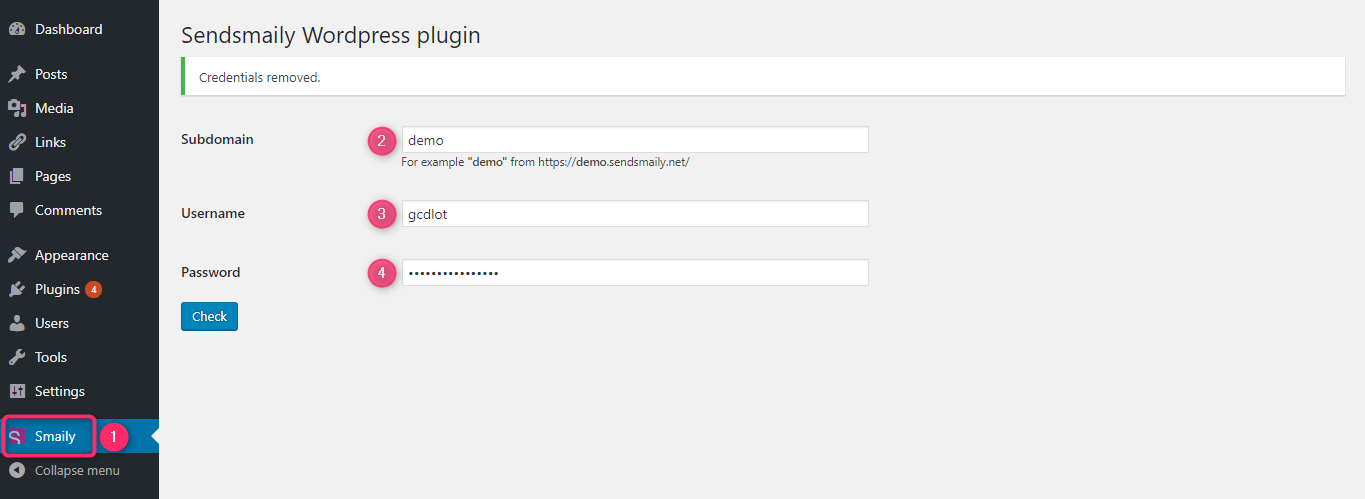
Go to Smaily plugin by clicking from the menu on “Smaily” (1). Insert Smaily subdomain (2), API user (3), API password (4) and then click on the button “Check”. You can create API user in Smaily under “Preferences” ➝ “Integrations”.
Basic or Advanced settings
Choose basic settings if you wish to use Smaily default signup form, which includes only email and name fields. With Advanced settings you can add your own subscription form or modify the default signup form, e.g add additional fields.
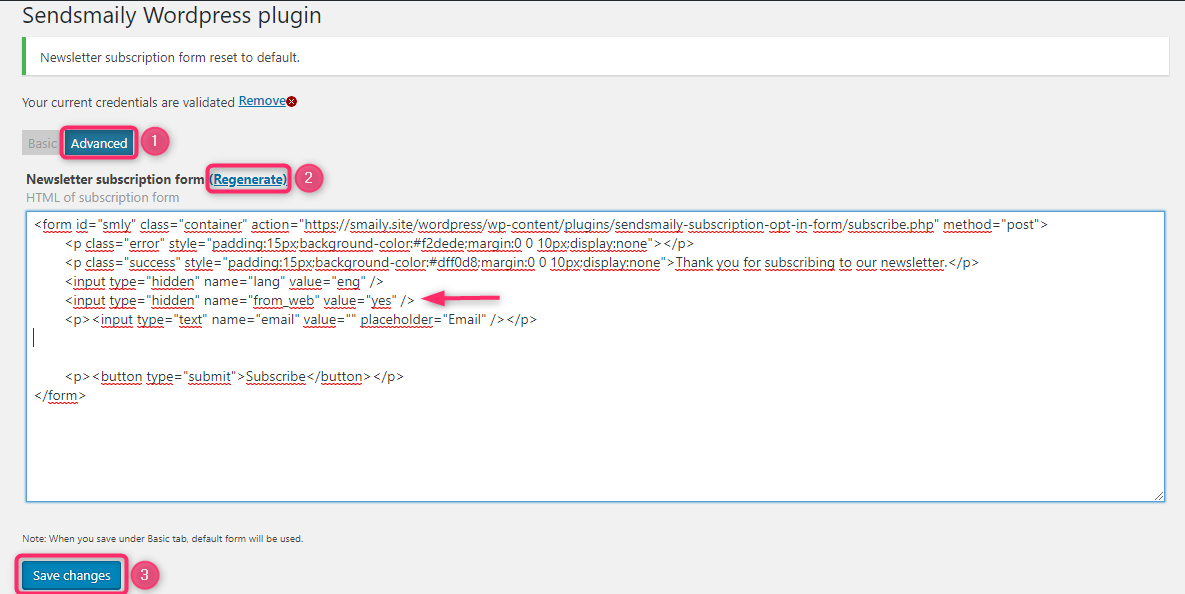
To add your own signup form, click on “Advanced” (1) and paste the HTML in the text box. To add custom fields, click on “Advanced” (1) ➝ “Regenerate” (2) and then add your desired fields; e.g. from_web, language, etc. When all is done, click “Save changes” (3).
Smaily Widget
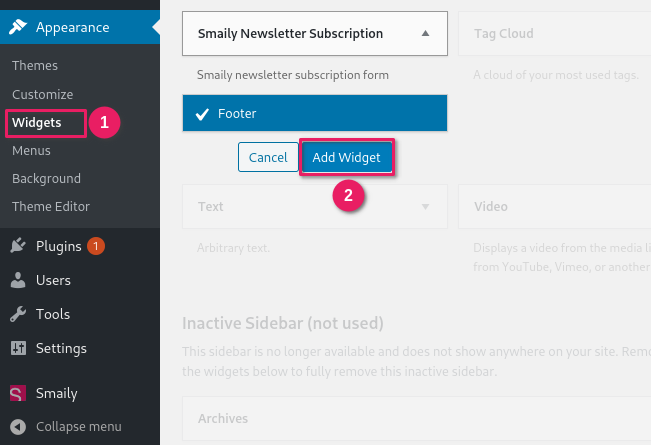
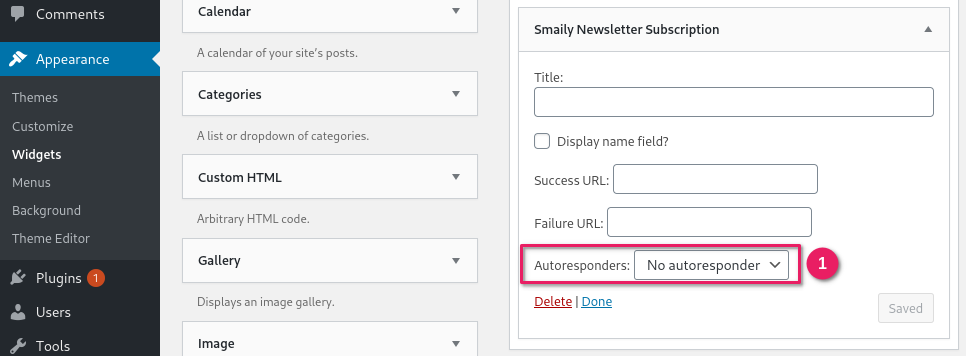
To add Smaily Widget into your page, go to “Appearance” ➝ “Widgets” (1). Find Sendsmaily Newsletter Subscription from available widgets and click on it. Choose which region you want the widget to insert to and click on “Add Widget” button (2). Once the widget has been added to a region you have an option to write a title, display the name field and choose the autoresponder to trigger. Don’t forget to save it!
Autoresponder
Autoresponder can be used to send out welcome emails to new subscribers. Read more on how to create welcome email automation workflows.
From widget settings Autoresponder drop-down menu (1) you can choose between automations you have built in Smaily using “form submitted” trigger.
Note! Every Smaily Newsletter Subscription form submission also triggers automations build using “opt-in” trigger. Even if widget is configured to target specific automation.
Shortcode
- Navigate to a Pages section and select a page to edit for adding newsletter form with shortcode.
- Add a [smaily_for_wp_newsletter_form] shortcode to a preferred location.
- You can choose a page to return in case of successful subscription by providing success_url attribute to the shortcode.
[smaily_for_wp_newsletter_form success_url="http://www.example.com/?page_id=2"] - You can also choose a page to return in case of error by providing failure_url attribute to the shortcode.
[smaily_for_wp_newsletter_form failure_url="http://www.example.com/?page_id=2"] - Default return path for both is the site`s home url.
- You can add the name field to the form by providing show_name attribute to the shortcode.
[smaily_for_wp_newsletter_form show_name="true"] - Targeting of a specific automation can be done by adding autoresponder_id attribute to the shortcode.
[smaily_for_wp_newsletter_form autoresponder_id="123"]