Add contacts from Axonaut to Smaily
Axonaut and Smaily Zapier integration allows you to synchronize contacts from Axonaut to Smaily.
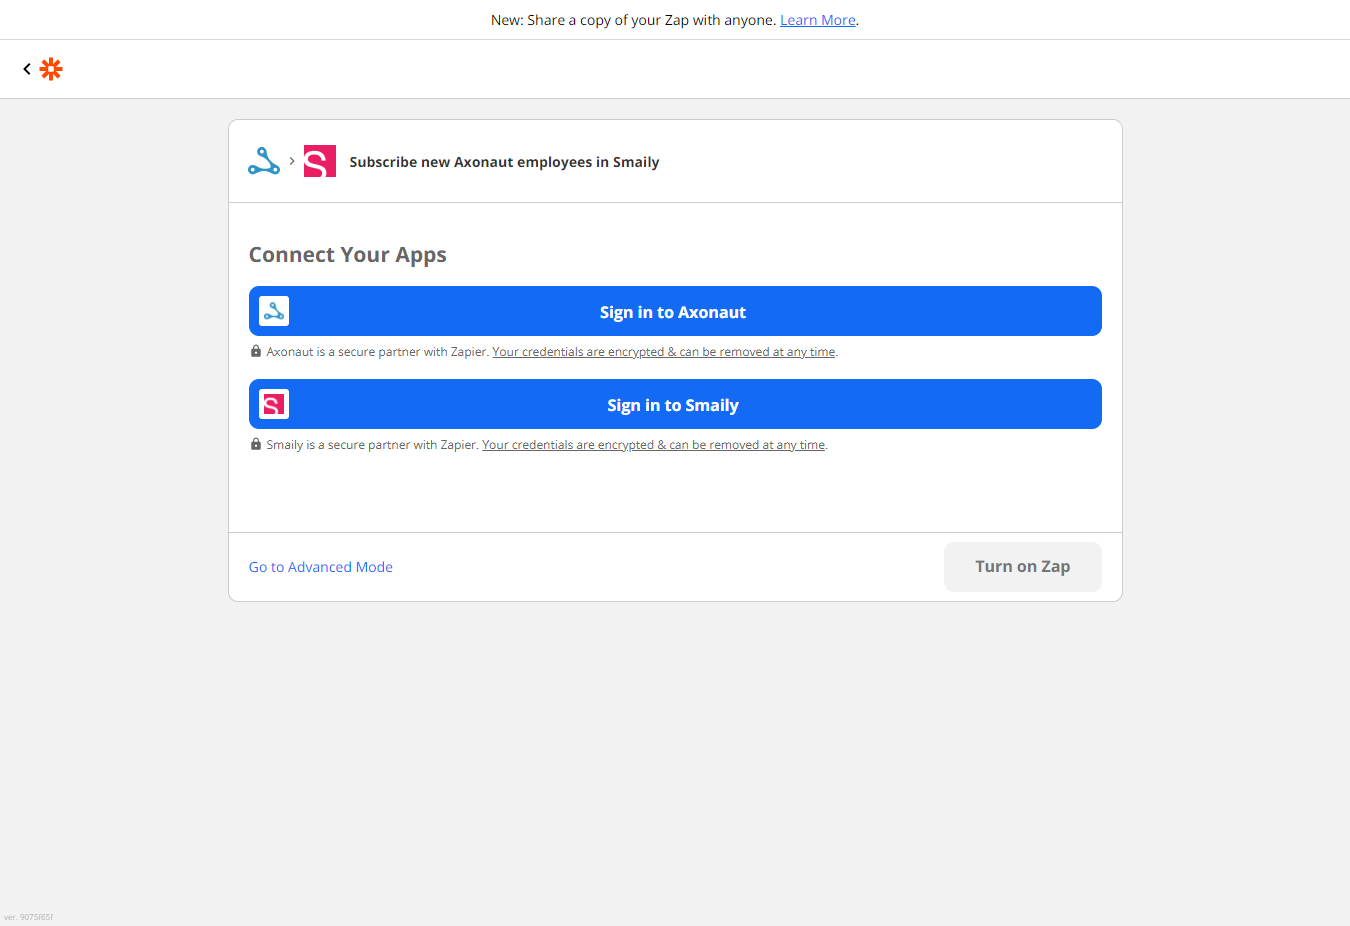
In order for Axonaut to automate contact synchronization for you, you just have to create a connection between Axonaut and Smaily. Axonaut Zapier template has main functions predefined, you just need to add the connections and personal preferences.
Create a connection with your Axonaut account
- Open Axonaut – Smaily Zapier template.
- Click on “Sign in to Axonaut”.
- Log into your Axonaut account and click on the wrench icon in the upper corner.
- From the menu click on “API”.
- Copy your API key to Zapier and verify the connection.
- Zapier is now connected to your Axonaut account.
Create a connection with your Smaily account
- On the Zapier template click on Smaily icon to create a connection.
- Click “Sign in to Smaily”
- Add your Smaily API username, password and Smaily account subdomain. (How to create API credentials).
- Click on “Yes, continue”.
- Now your Smaily account should be connected.
Template settings
Click on “Go to Advanced Mode” to modify the template.
Axonaut module
- Click on the Axonaut module.
- Click on “Choose app & event”. App and trigger event are already set. You can change the trigger event. Click “Continue”.
- Choose account. If necessary, click “Sign in to Axonaut”. Follow the instructions you see in the opened modal. If all is done, click “Yes, Continue”
- Click on “Test the trigger” to get the sample data. It gives you sample person details from you Axonaut account. Click Continue.
Smaily module
- Choose app & event. App and action event are already set. You can change the action event.
- Choose account. If necessary, click “Sign in to Smaily”. Follow the instructions you see in the opened modal. If all is done, click “Yes, Continue”
- Set up action. Email is a required field. Click on email input and choose email field from opened drop-down menu.
Unsubscribed should stay on “No”.
Add any additional parameters the same way as email field. Name, first name and last name, for example, have already been mapped for you. Click Continue. - Test action. Click on “Test & Continue” to get the sample data. Now sample person details from you Axonaut account are displayed. Click Test & Continue. Success message is displayed.
- Click Turn on Zap.
Now your scenario is up and running!

