How to add a pop-up subscription form to your webpage?
Pop-up forms are a quick and easy way to grow your subscriber base by offering them value in exchange for their email address. This is a detailed guide to adding a pop-up subscription form to your website.
You can add pop-ups to your webpage using Smaily landing page forms and a third party service. Some examples:
Creating landing page form in Smaily
Create a new landing page form in your Smaily account and design it. Here are some manuals to help you design the landing page:
NB! If you create a landing page with two side-by-side blocks (e.g picture on the left and form on the right), then the minimum with for the landing page (including paddings) should be 770px or more, for it to not change for iframe.
Creating the pop-up using Elfsight as an example
- Go to https://elfsight.com/popup-widget/
- Create a new account or log in.
- If you are new, click on “Create Widget” button to get started.
- Type in the search bar “popup” to find the correct widget.
- Click on “Popup” to select the widget.
- Choose your pop-up base template and click on “Continue with this template”.
- Under the “BLOCKS” menu delete all the elements and click on “Add Block”.
- Choose “iFrame” from the blocks menu.
- In the iFrame settings, add your Smaily landing page’s URL into the “URL…” field.
- Change the iFrame height in the menu to fit the form in the pop-up.
- Click “Back” to access the pop-up settings again.
- If necessary, change the pop-up background color and select a name for your pop-up.
- Finish setting up the pop-up by changing the layout and settings information and then click “Publish”.
- Copy and paste the code into desired place of your website (HTML editor, website template, theme, etc.) and that’s it.

Preparing the iframe code
- Copy the code below somewhere you can modify it easily. For example a word document or notes.
<iframe width="600" height="600" style="width: 600px; height: 600px; border: 0px;" src="COPY_LANDING_PAGE_URL_HERE"></iframe> - Open your landing page form in a new window (in landing pages view click on “share”).
- On your keyboard press Ctrl + Shift + C or right-click on the form and choose inspect and then click on the upper left button with small arrow in a box to inspect the elements. This will open the browser tools and activate your mouse for inspection. If you move your mouse on the landing page you can see info about the landing page elements.
- Element width and height are marked on the GIF. These numbers are important to define the iframe width and height.
In the picture you can see that the landing page width is 500px. You can add this width to your iframe code as well. Landing page height can be found when you move your mouse next to the landing page (on the background). It will show you the whole landing page parameters, where you can get the landing page height.
Example iframe code would be something like this then:
<iframe width="500" height="367" style="width: 500px; height: 367px; border: 0px;" src="https://demo.sendsmaily.net/landing-pages/ba244eea-1627-4521-9e4a-acc4ed5231d6/html/"></iframe>

Creating the pop-up using Poptin as an example
- Go to https://www.poptin.com/
- Create a new account or log in.
- Choose “Popups” from the left menu
- Click on “New poptin”
- Choose your goal (“What’s your goal?”) – in example “Grow email list” was chosen.
- Choose the template to build your pop-up on. We chose “Build your own Popup” and clicked on “Customize”.
- Add a name to your poptin and insert the domain you wish to add the pop-up to.
- The poptin editor will open, where you can start building your pop-up.
- Delete the text element in the template.
- In the left menu set the poptin width. Insert the same numbers that you added to the iframe code.
- From the left menu find the category “Add elements” and click on the HTML element. It will be automatically added to the template.
- Click on the HTML element in the template and then click on “Change HTML”.
- Copy the iframe code in the opened modal and click “Save”.
- Drag the html element to the right place and size.
- Click on the “preview” button to see how the pop-up looks.

Adjusting the poptin settings.
If your visuals are set then you can start changing the poptin display settings.
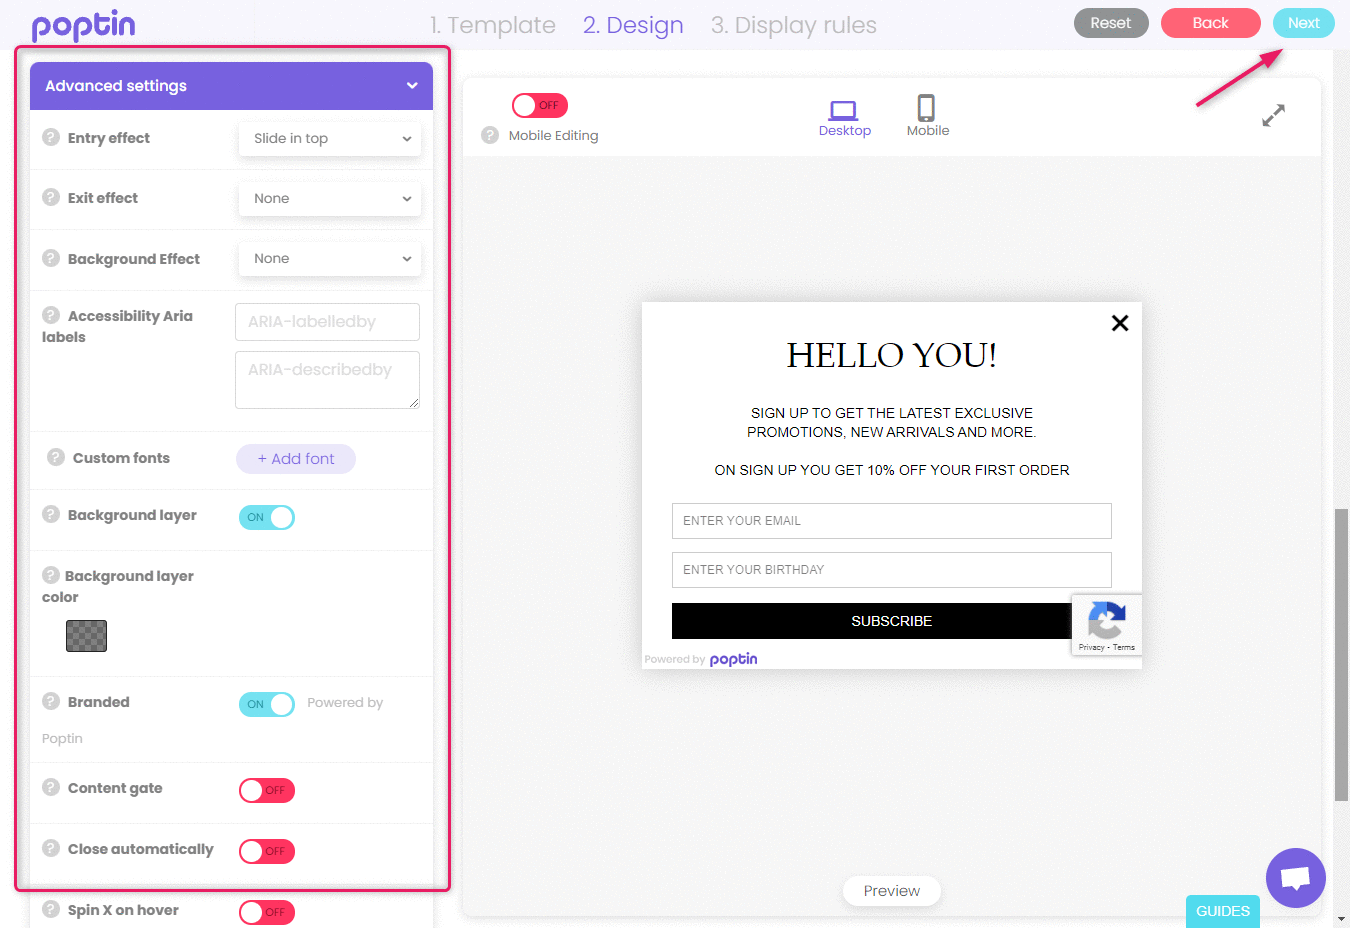
- On the left menu find the category “Advanced settings”, where you can modify the entry and exit effects, etc.
- When those are set, continue to the next display settings by clicking “next” in the upper right corner.
- In the next step set the display triggers.
- If everything is set, then finish creating the poptin by clicking on “Publish”.
- In the left menu go back to the popups page and click on the popup you just created.
- Click on the “Installation code” button and choose to which platform you want to add the pop-up to. You can choose “Any website” and copy the code. Follow the instructions given, to add the pop-up to your webpage.