
How to create automation workflows?
You can create automation workflows with our visual automations tool. You can update subscriber information according to their past behaviour, send out automated letters, confirmation emails and start automations for reoccurring occasions and actions.
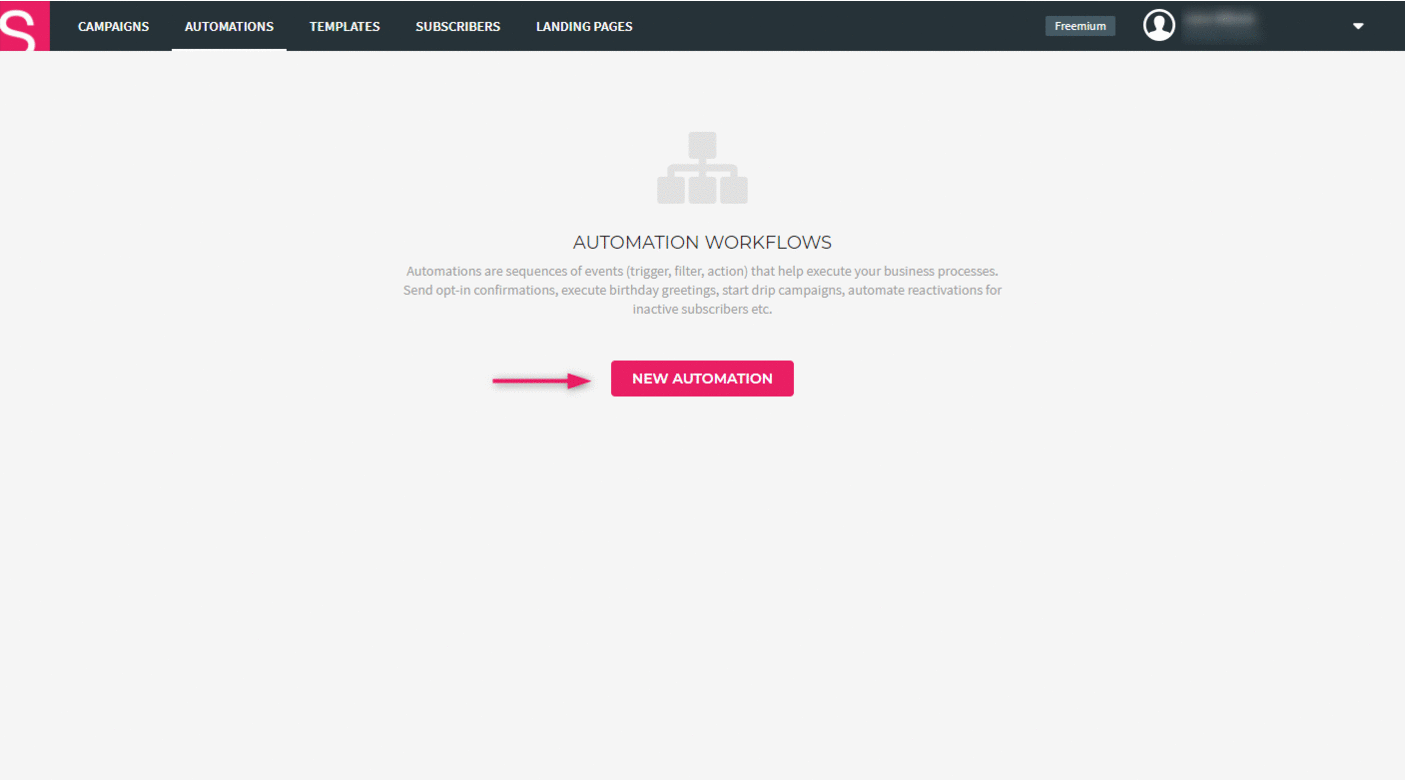
- To create a new workflow, go to the “Automations” tab and choose “New automation”.
- You can name your workflow.
- Click on the “+” icon to start creating the workflow.
- Choose a trigger to start the workflow. The trigger will determine what kind of action will launch the automation and which actions will follow.
View a short introduction into automation workflows here.
Choosing a trigger
Form submitted
Workflow will start every time a contact submits their information via a form or information is sent toward an automation via API inquiry. Should be used for integrations, opt-in forms and API inquiries.
Opt-in
Workflow will be launched only once – the first time the contact enters the database (opt-in). Opt-in triggered automation can’t be connected to a specific form or API inquiry. Should be used in case only one automation workflow is used on the account.
Opt-out
Workflow will be launched when a contact leaves the database (opt-out). You can modify or filter the data connected to the contact after the contact has opted out.
Modify
Workflow will be activated every time a subscriber’s data is modified (manual update, importing a file, web-form submission etc.).
Schedule
Workflow will be launched on a specific date defined in the subscriber’s birthday field. You can choose a time delay for when the workflow will be launched.
Open message
Workflow will be launched when a subscriber opens any email they’ve received from the account.
Link click
Workflow will be launched when a subscriber clicks on any of the links in the email. We suggest using a URL filter to narrow the workflow down to a click on a specific link.
Adding actions
Once a suitable trigger has been selected, you can set up the rest of the workflow. By clicking on the “+” icon under the trigger you can choose from the following list of actions.
Unsubscribe – Contact will be unsubscribed from the database.
Delay – Postpones the upcoming action for a specified amount of time. You can choose between simple time delay or even date delays. You can also add multiple delays, in which case all of the time periods will be added up.
Send message – An automatic message will be sent to the contact after the trigger has been activated or another action has been completed.
Subject is the title of the message. Sender’s address is the email address from which the email will be sent out from and sender’s name is the name of the person/ company, under whose name the message is sent out. You can choose the template you want to use for the message from your existing templates.
Modify data – The data in the additional fields connected to the subscriber will be changed. A field is an additional field/ parameter, in which the changes are made and to which a new value will be given.
Filters
Filter by data modified – Subscribers with a specific value will be selected for a planned action.
Choose an existing parameter under the fields (language, name, location etc.). By comparison and value a more specific subscriber selection is carried out.
Filter by URL – Action can only be used with the “link click” trigger. Subscribers who have clicked on a specified link will be filtered out.
NB! The inserted URL has to be the same as the one used in the template. Otherwise the click will not go through the filter.
Has opened the message – Subscribers are filtered out based on opening the email.
NB! Add a “delay” action before using the filter.
Has not opened the message – Subscribers who did not open the email will be filtered out.
NB! Add a “delay” action before using the filter.
Has visited URL – Subscribers will be filtered out based on clicking on a link.
NB! Add a “delay” action before using the filter.
Has not visited URL – Subscribers who didn’t click on a specified link will be filtered out.
NB! Add a “delay” action before using the filter.
Launching the workflow
Once you’re done with creating the workflow, click on “Create automation” in the upper right corner. Workflow will be saved but it will not start automatically. To start the workflow click “Start” in the automations tab next to the selected autoresponder.
NB! Only you will be able to see the name of the workflow.

Automation ID
You can get your automation ID from the automation URL.