How to add an image?
- To add an image, drag an image element onto your template.
- In the image element, click “Browse for image” and a media library attached to your account will open.
- To add a new image to the library, click “Upload” or drag the image straight from your computer onto the library window.
- By clicking “Upload” the computer file browser will open. Find the right image, click on it and then click “Open”. The image will be added to the library.
- Choose the image from the library and click “OK” or double click the image.
- The image is now added to the template.
How to change image size?
Once the image has been uploaded, but the size of the image is incorrect, you can change the size manually.
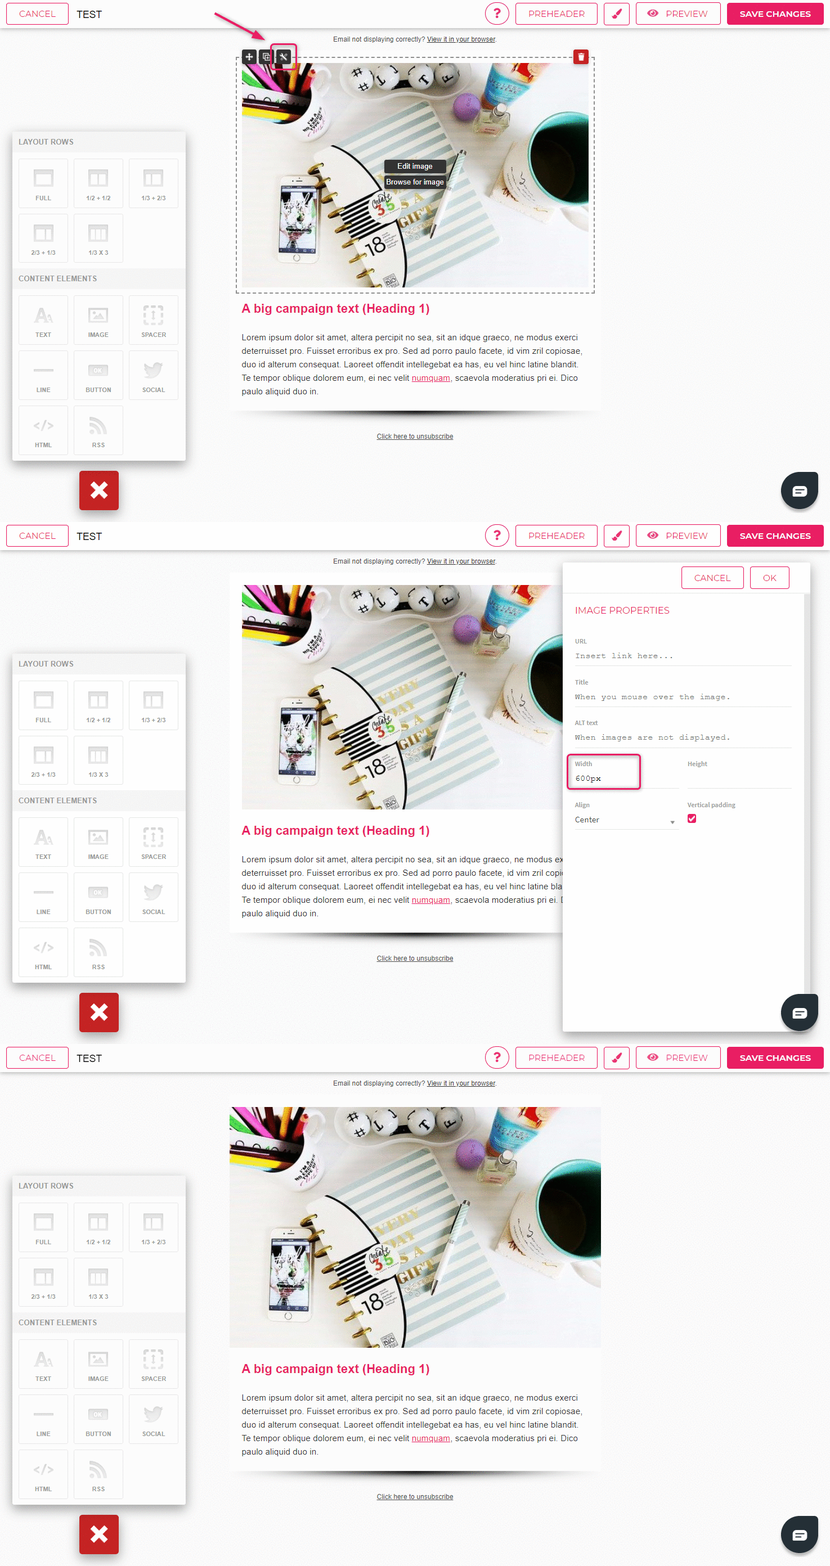
- Move the cursor onto the image and click on the wrench icon in the upper left corner.
- You can manually insert the width and height of the image in pixels in the image properties window.
- After inserting the correct measurements, click “OK” and the image will be resized.
We suggest inserting only the width or the height for the image manually. That way the proportions of the image will remain the same.

